Kindle Voyage Battery Replacement Guide
Have you noticed that the battery life on your Kindle Voyage is lacking? Follow this Kindle Voyage Battery Replacement Guide to have your battery life back to new condition.
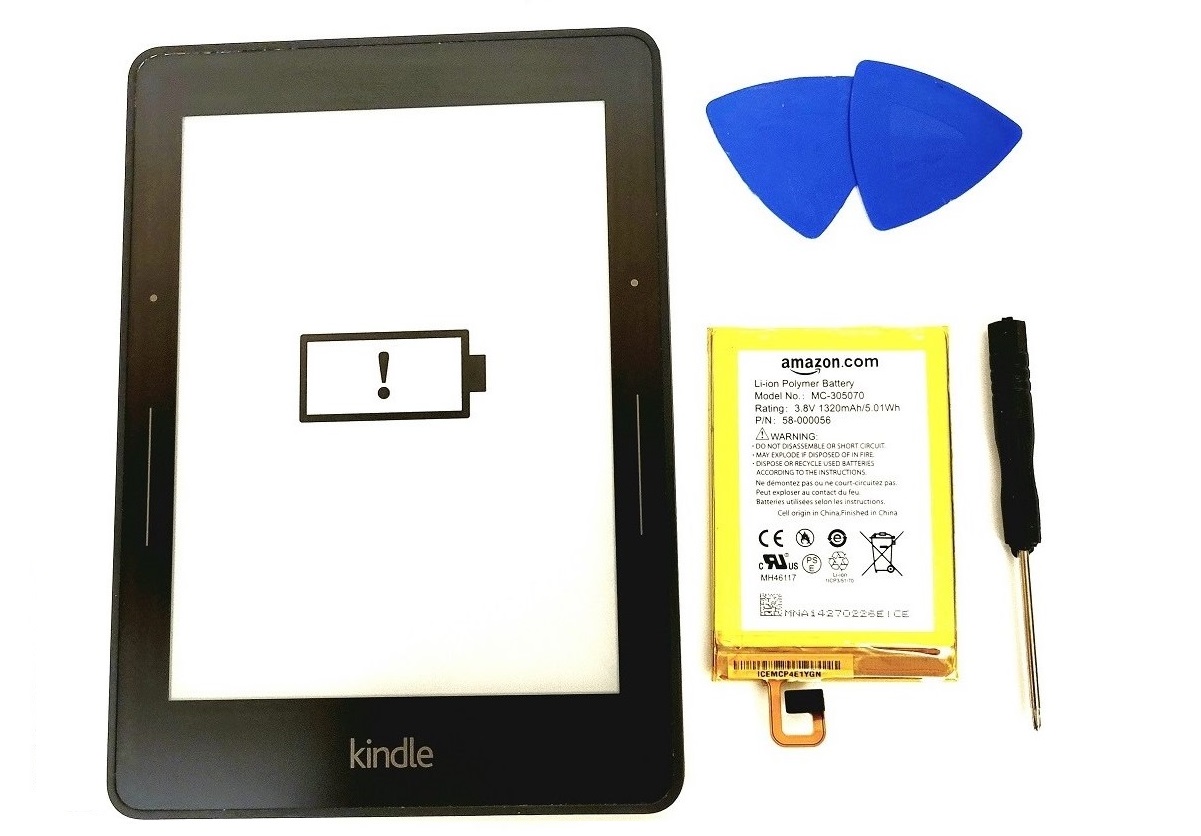
You will need the following:
- Kindle Voyage Replacement Battery.
- Plastic pry tool.
- Phillips #00 screw driver
Here are the basic steps.
- Remove the access panel using a pry tool.
- Loosen and remove the back cover using a screw driver.
- Pry the battery loose and replace it with a new one.
- Reassemble the Kindle.
Read further for a more detailed guide with photos for each step.
Kindle Voyage (7th Generation) Battery Replacement Guide
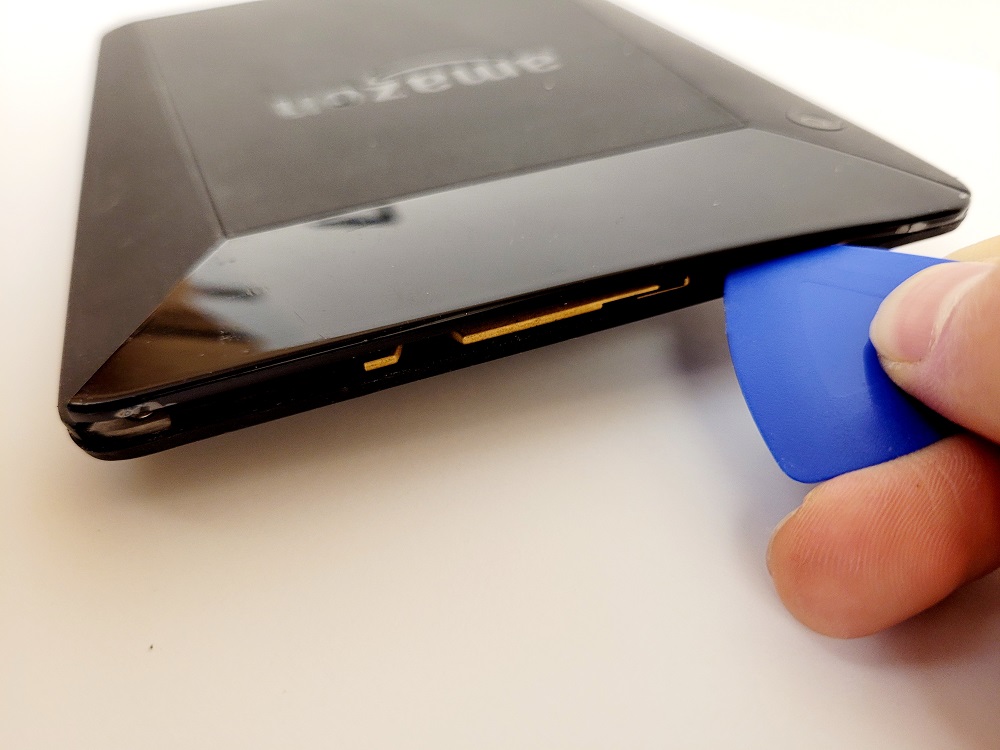
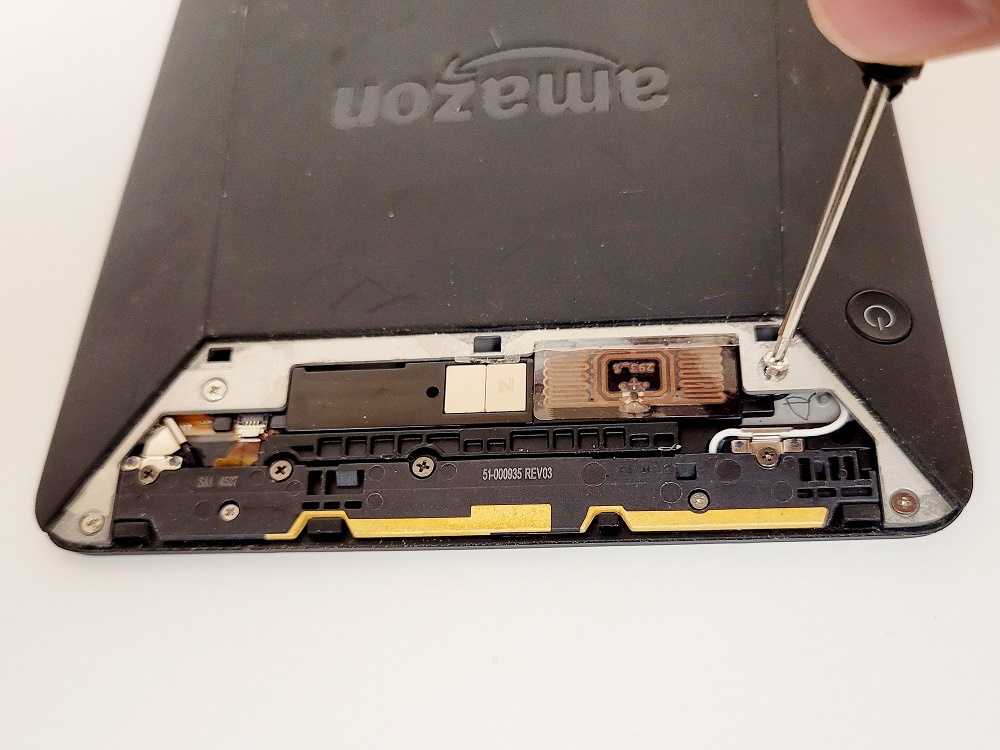
Using a plastic pry tool, insert it between the edge of the access panel and the Kindle frame.
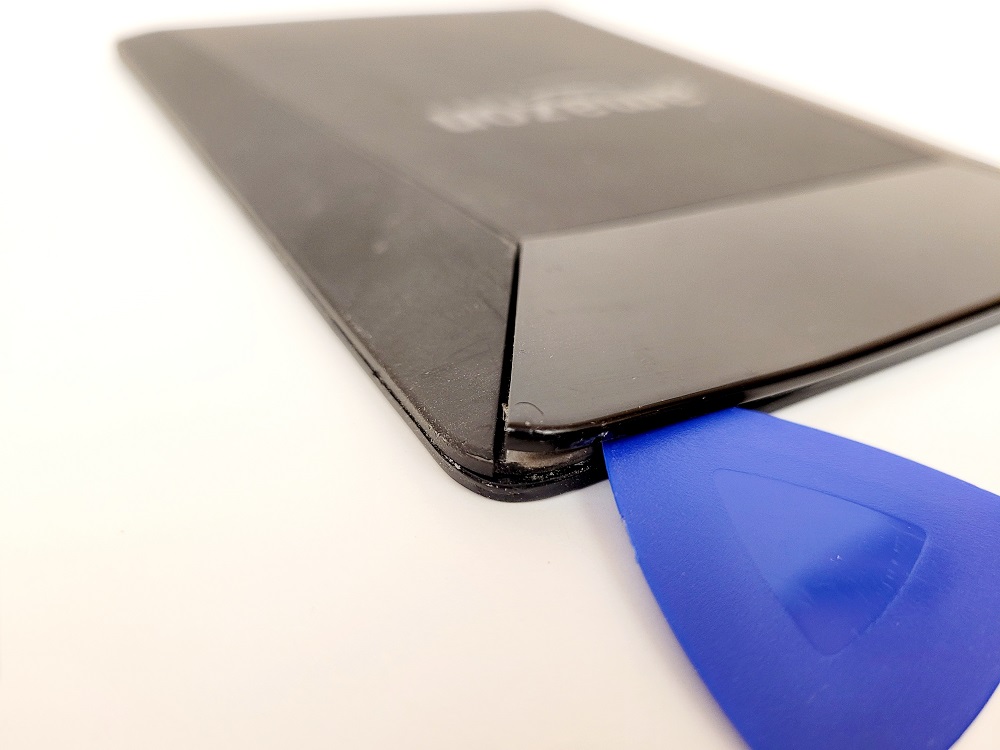
Then, slide the pry tool along the edge loosening the clips that hold it in place.
The cover should be loose enough at this point to lift out.
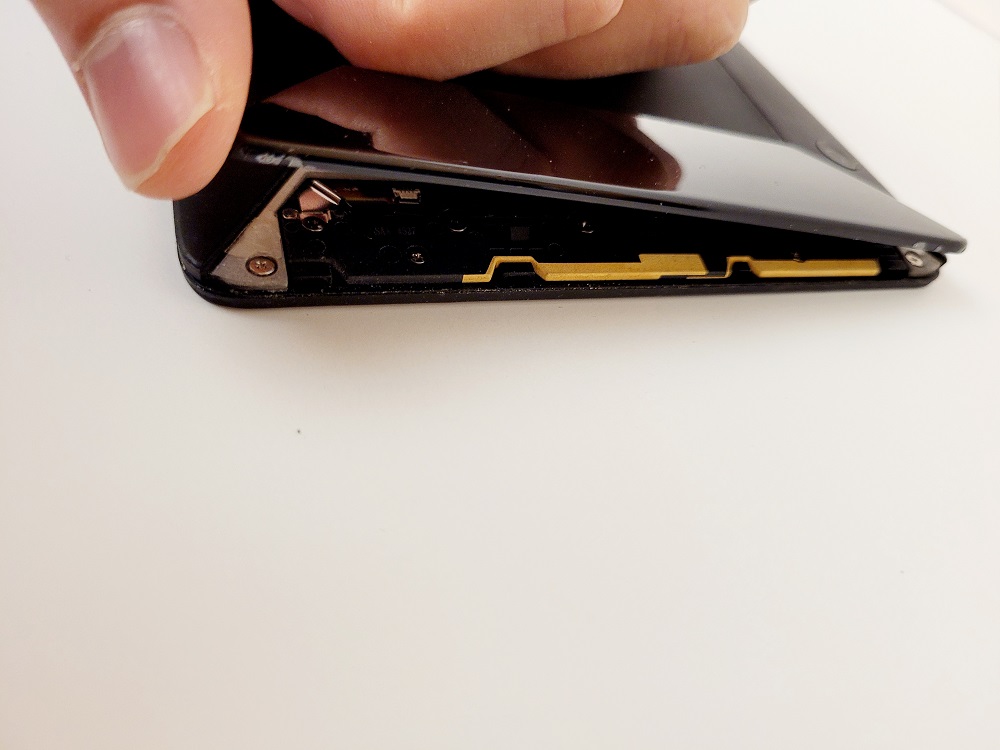
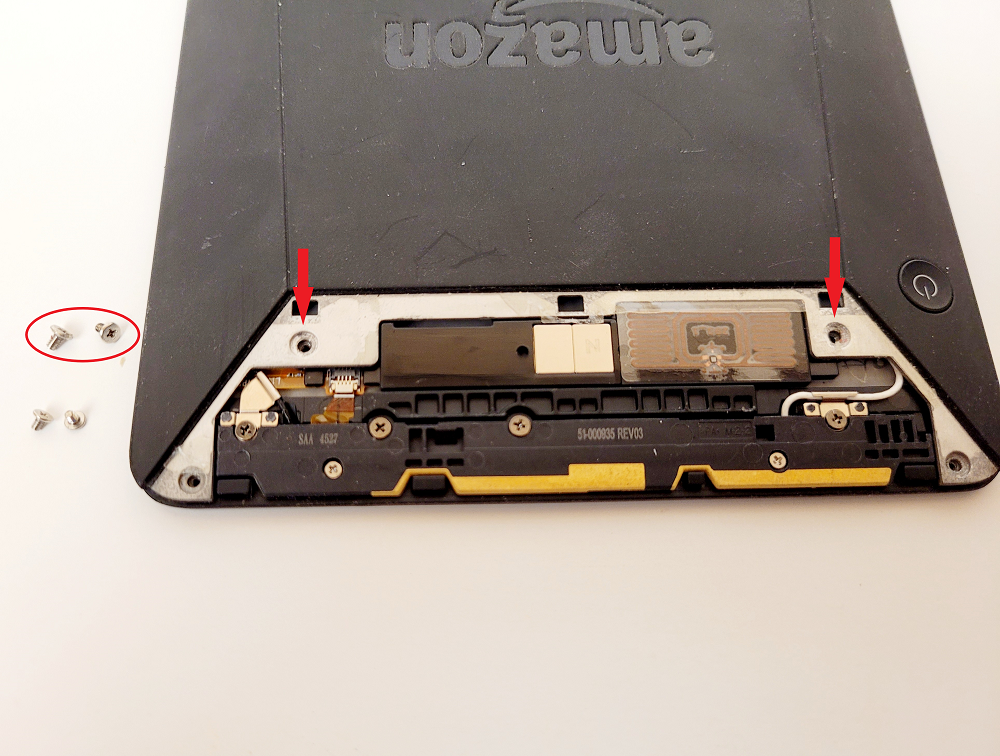
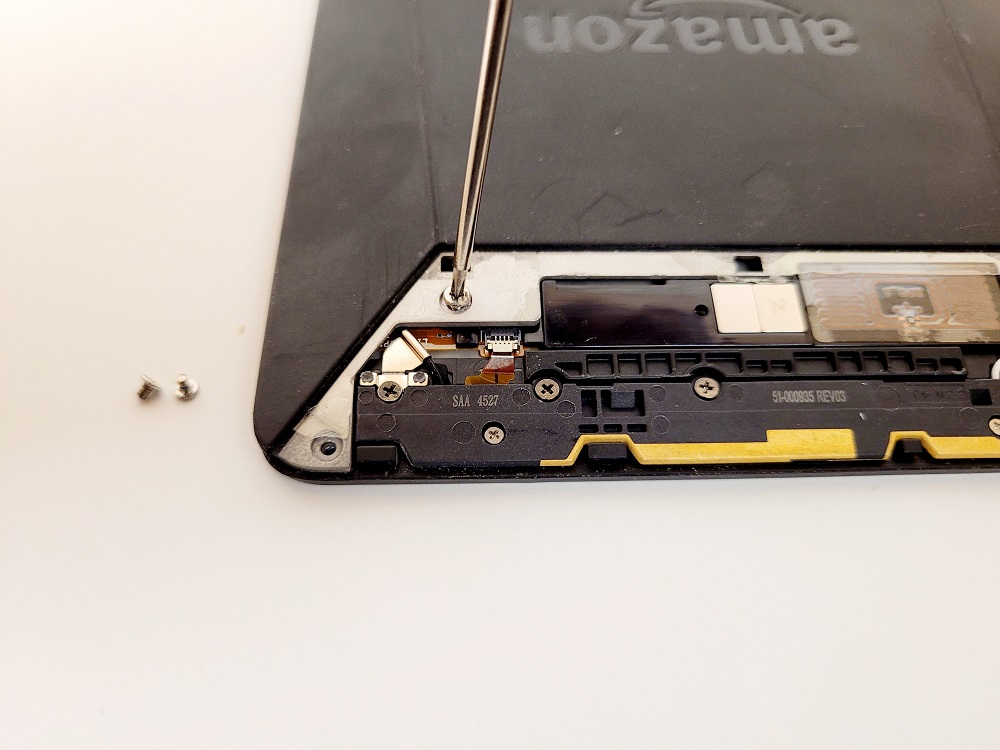
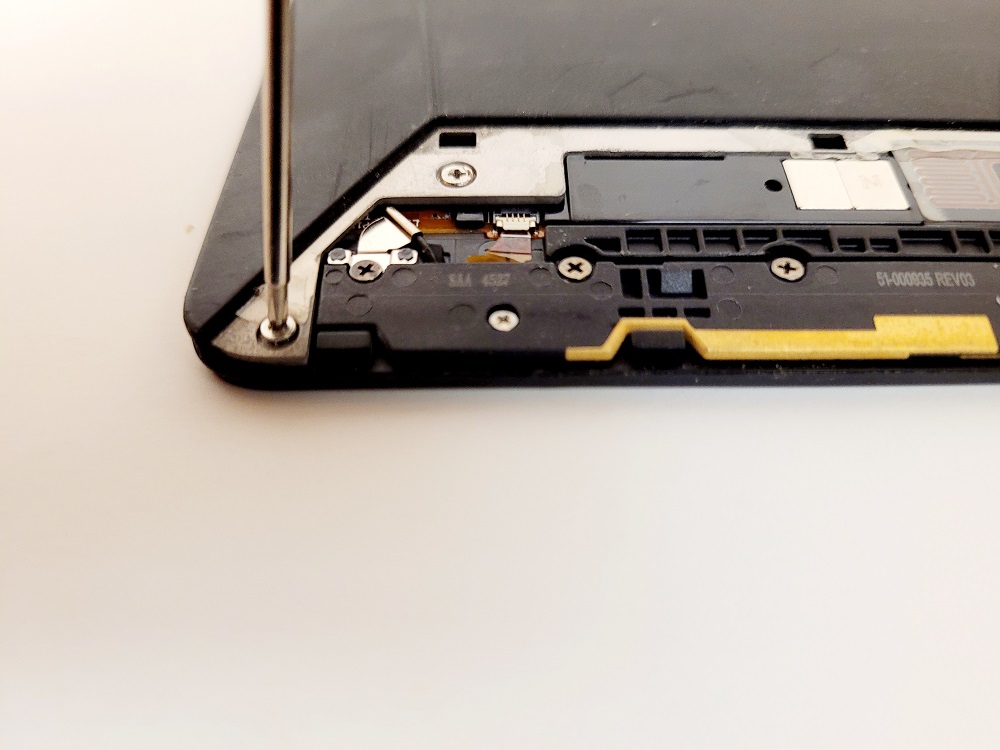
Using a Philips screw driver, remove the four screws holding the back cover in place (setting them aside for later).
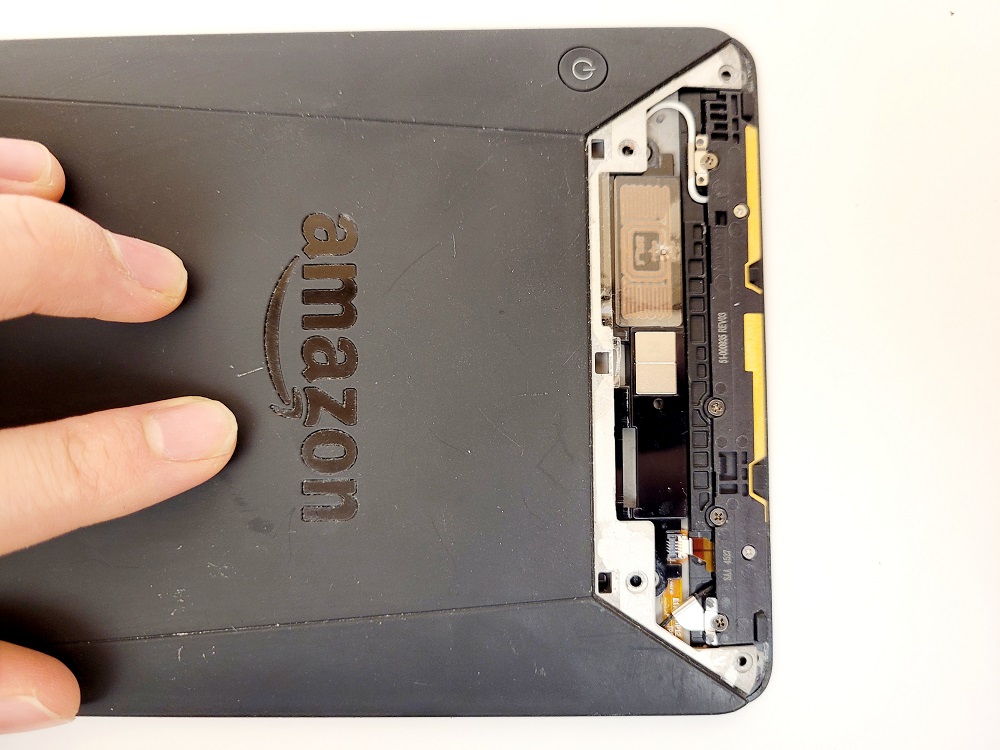
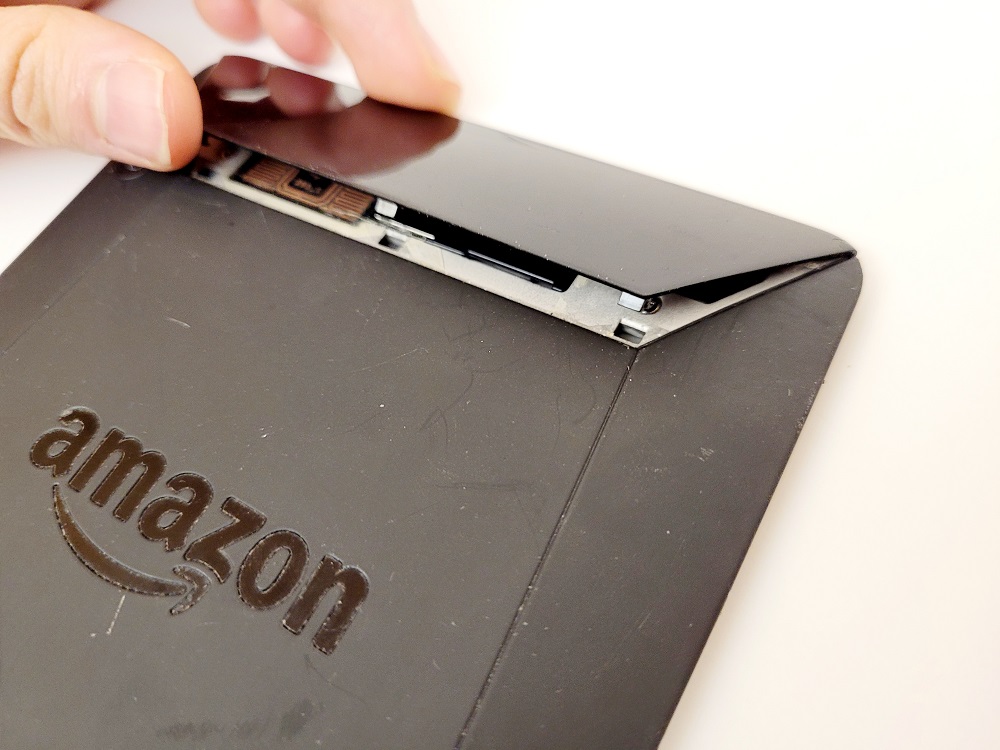
Next, while firmly pressing the back cover down, slide it forward as far as it can go (about half an inch).
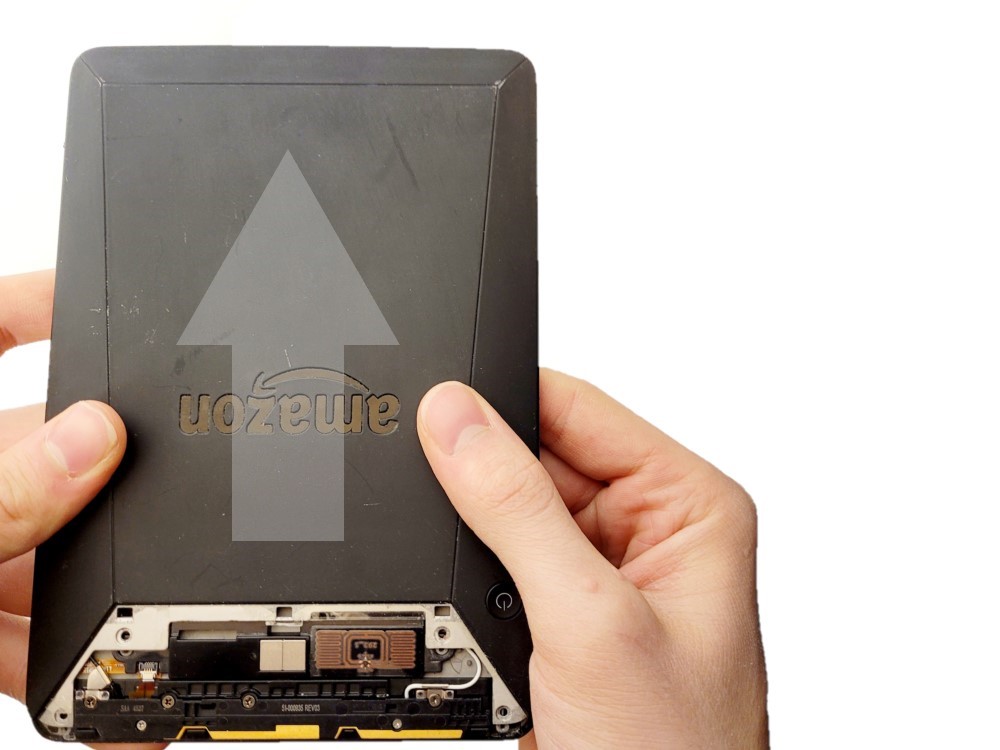
Then lift the back cover off.
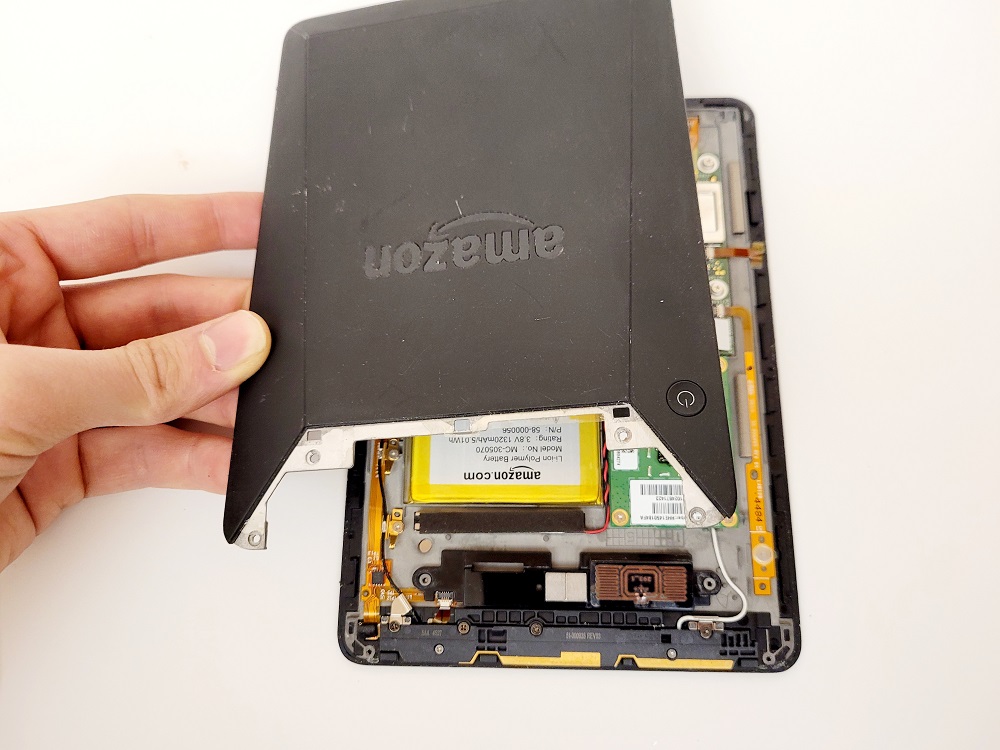
Next, remove the magnetic component.
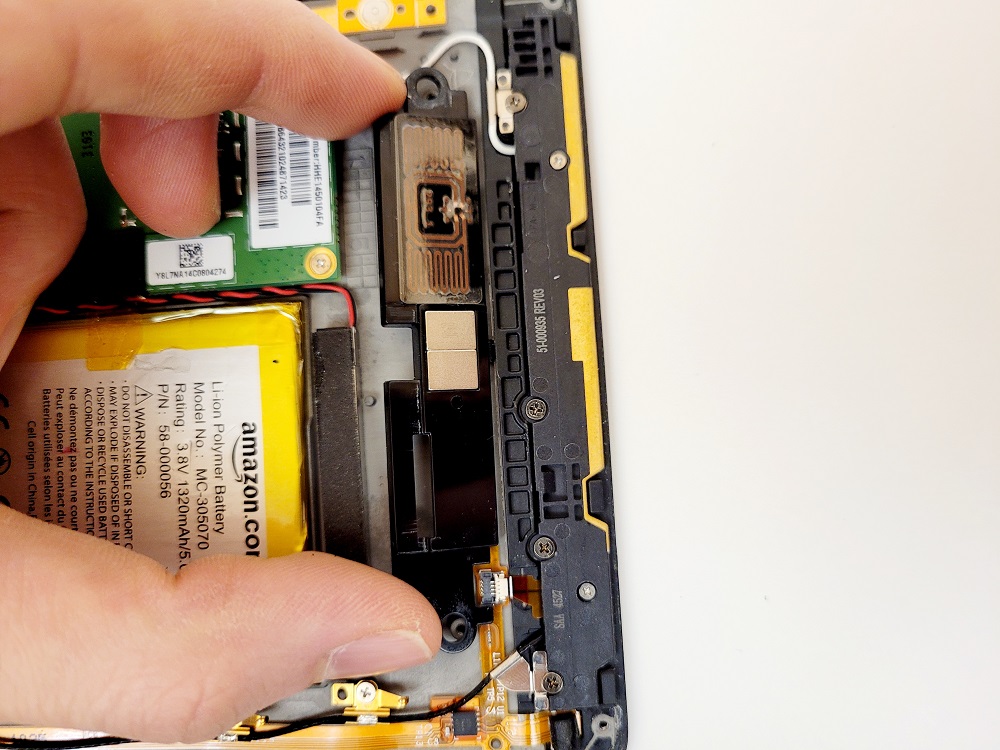
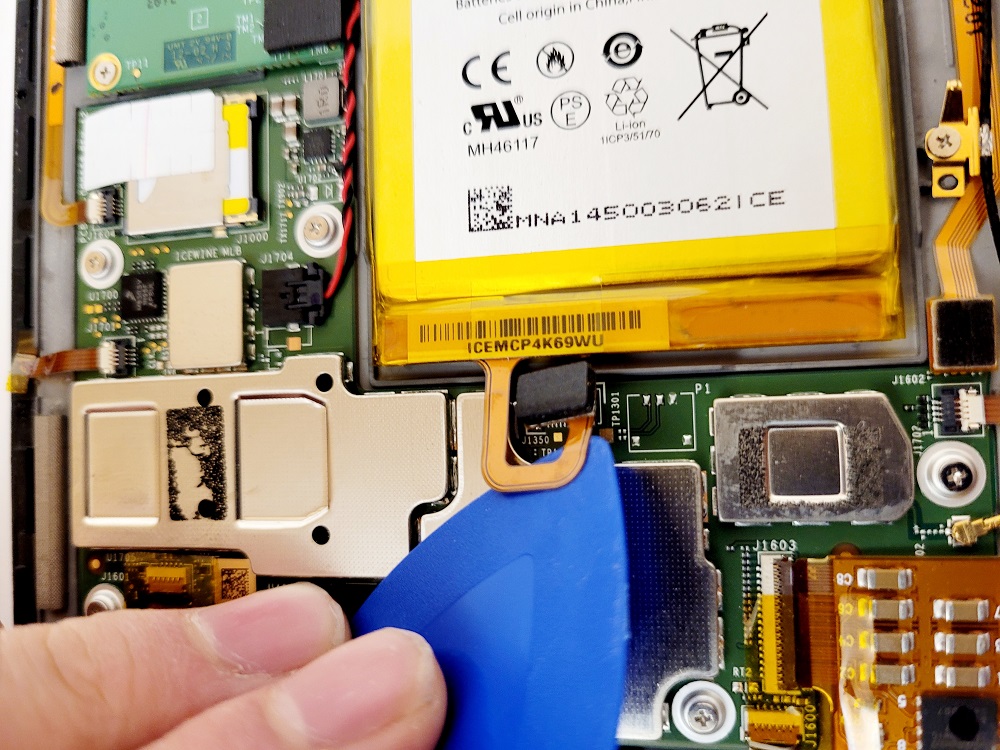
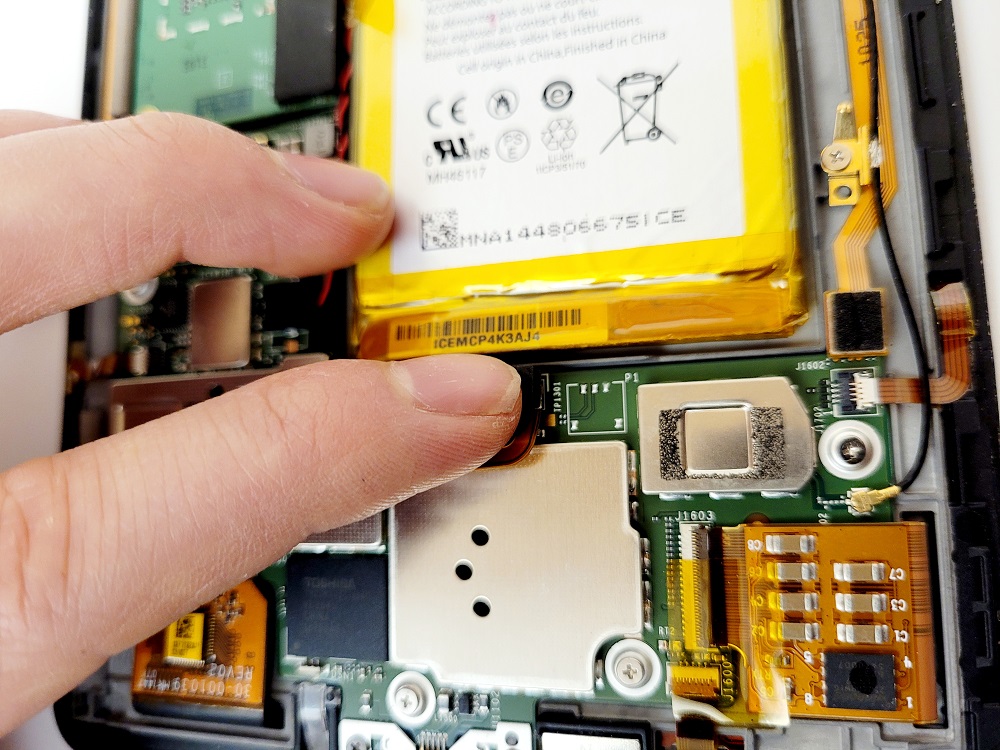
Using a plastic pry tool loosen the battery ribbon cable from the motherboard and the orange tape.
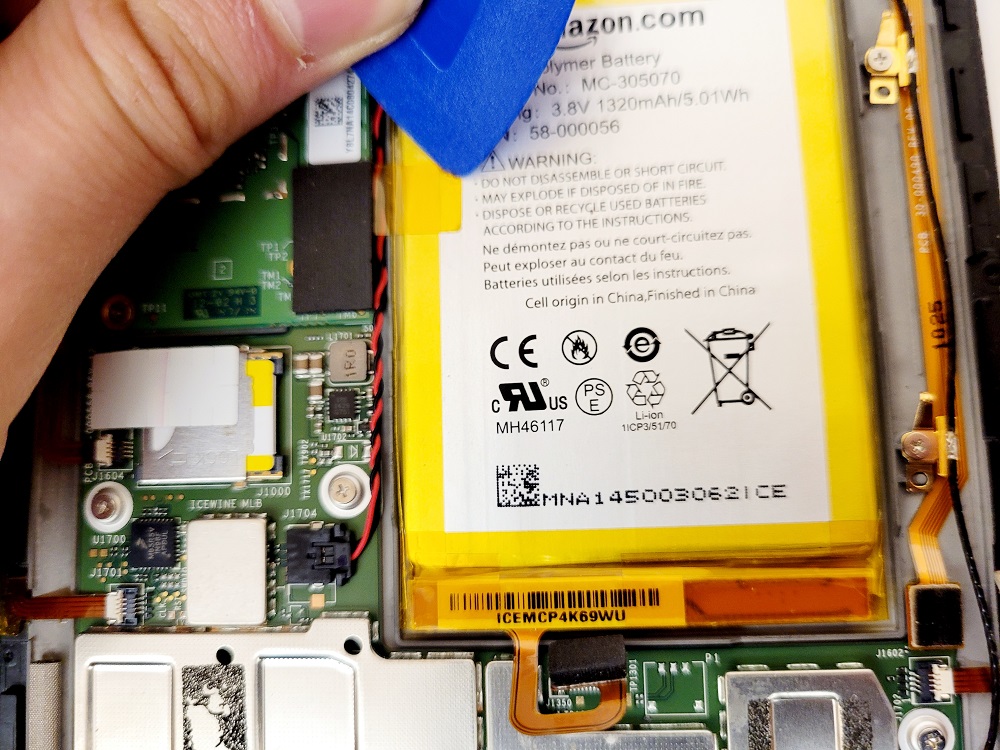
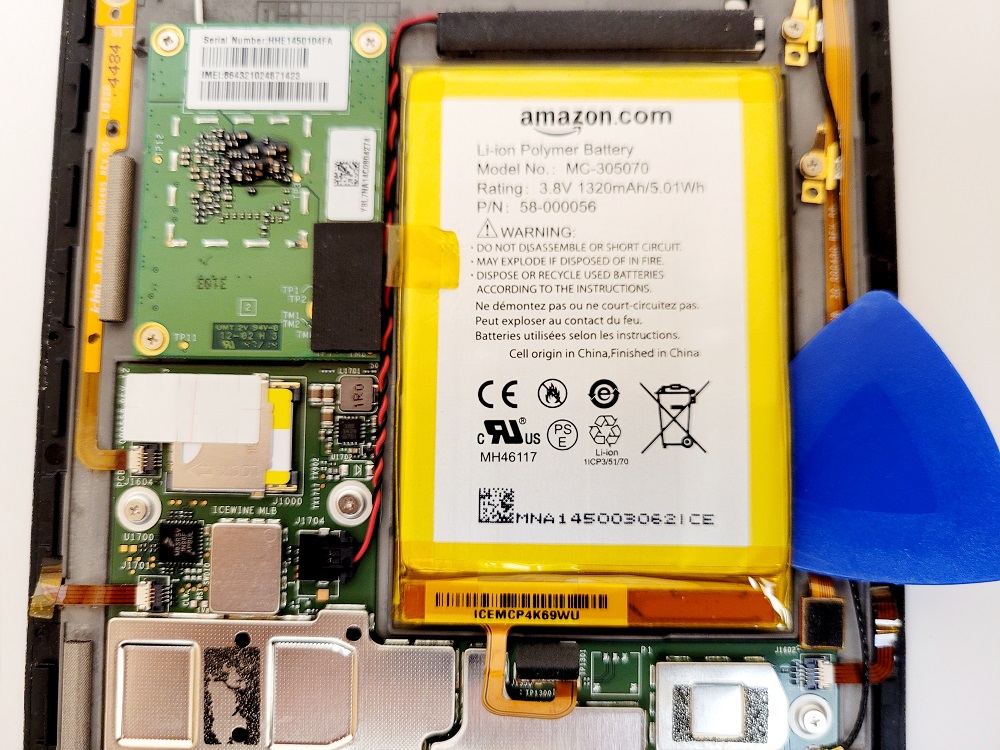
Then insert your plastic pry tools under the battery and gently loosen the glue that fastens the battery.
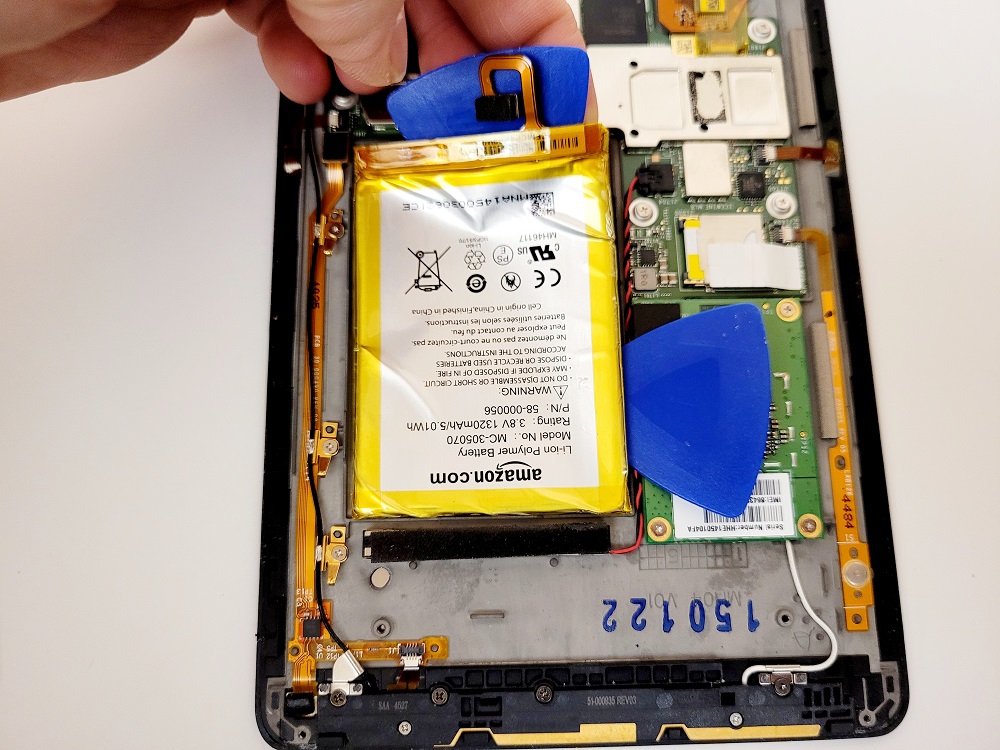
After the battery is loose enough, remove it and replace it with a new battery. (Make sure you reattach the battery flex cable.)
Replace the magnetic component.
Then slide the back cover back on.
Next, take the two largest screws and screw them into the top two holes.
Then gently screw the smaller two screws into the holes along the edge. If you tighten them too much, they will damage the front frame.
Finally replace the access panel beginning with the outside edge.
That’s it. Your Kindle should be ready to go. If for some reason it doesn’t turn on, try doing a hard reset by pressing the power button for forty seconds. That often fixes any problems it might have.
We hope you found this Kindle Voyage Battery replacement guide useful and that you were able to get your Kindle back in good working order.